Firefox set the standards for the way you browse the internet now. It is only recently when the browser war really picked up and has been brought to the limelight. As the internet expands, we see browsers getting more mature and more practical functionality being introduced. The most common browsers now are Firefox 3.6.3, Chrome 5, Opera 10.6 and Safari. Oh and IE 9.
Honestly safari and Opera are great browsers but still have a long way to go, for people to SWITCH over. IE has made some great improvements over the years and IE 9 sees a fast JavaScript engine and HTML 5 support. But it’s IE, so I’m not going to talk about it.
What I will be talking about is Firefox. I have been using Firefox when it was in its 1.x stages. A lot has changed over that time, but not my browser. Firefox still continues to be stable, fast and highly customizable. And in comes Chrome. I do confess, I did switch from Firefox to chrome because I was getting annoyed by a lot of mis-rendering of sites, slowing down and unnecessary screen space usage. I imported my bookmarks and started customizing Chrome. And boy was it fast! Chrome is excellent. Even though this switch lasted for 2 days i must say, it’s fast, super stable and really really slick.
The only complaint i have about Chrome is it’s memory usage. Chrome treats every tab as a new process and this could really consume a lot of your memory. But that shouldn’t really be a complaint now-a-days, as most machines are armed with 2gb and over of RAM. But why should it?
I set out on a one day mission to speed up Firefox and do the unthinkable, make it faster than chrome. My main aim was to get Chrome’s UI on Firefox and increase browsing and load speeds The article is meant for you to try out. By you I mean anyone. I must report that it was a partial success and here is how I did it.
Test Machines
1. Windows XP Service Pack 3, 2Gb Ram, Core 2 Duo
2. Windows 7 Ultimate, 2 GB RAM, Dual Core AMD Athlon X2
Browsers
1. Chrome 5 – Addons: AdBlock, Flash Block, LastPass and Chromium Wheel Smooth Scroller.
2. Firefox 3.6.3 – Addons: AdBlock Plus, Flash Block, LastPass and ‘Yet another smooth scrolling’.
Both the systems are very average and are true to most of the common systems found in households.
Step 1: Add-ons
First blindly install the following add-ons. The descriptions for each are in its respective pages.
1. Chrome basic theme - https://addons.mozilla.org/en-US/firefox/addon/8782/
2. Download Statusbar - https://addons.mozilla.org/en-US/firefox/addon/26/
3. Omnibar - https://addons.mozilla.org/en-US/firefox/addon/8823
4. Flashblock - https://addons.mozilla.org/en-US/firefox/addon/433
5. Compact menu 2 - https://addons.mozilla.org/en-US/firefox/addon/4550/
6. Auto hideStatusbar - https://addons.mozilla.org/en-US/firefox/addon/1530/
7. Autohide - http://www.krickelkrackel.de/autohide/
Now restart Firefox. Compact menu will give you an alert and will ask you if you want to compact the menu and disable the menu bar. Select yes.
Now to the add-on configuration part. Your Menu bar is now compacted into one button on your the top-left of the page which looks like this

Click this button Tools -->Add-ons --> Auto hideStatusbar options. Select and deselect to make the options look like this

Again, Menu Button --> Tools --> Add-ons -->Autohider options. Again select and deselect where needed to make it look like this

Now in Firefox, right click anywhere to bring down the options and check ‘Full Screen’, the bottom most option.
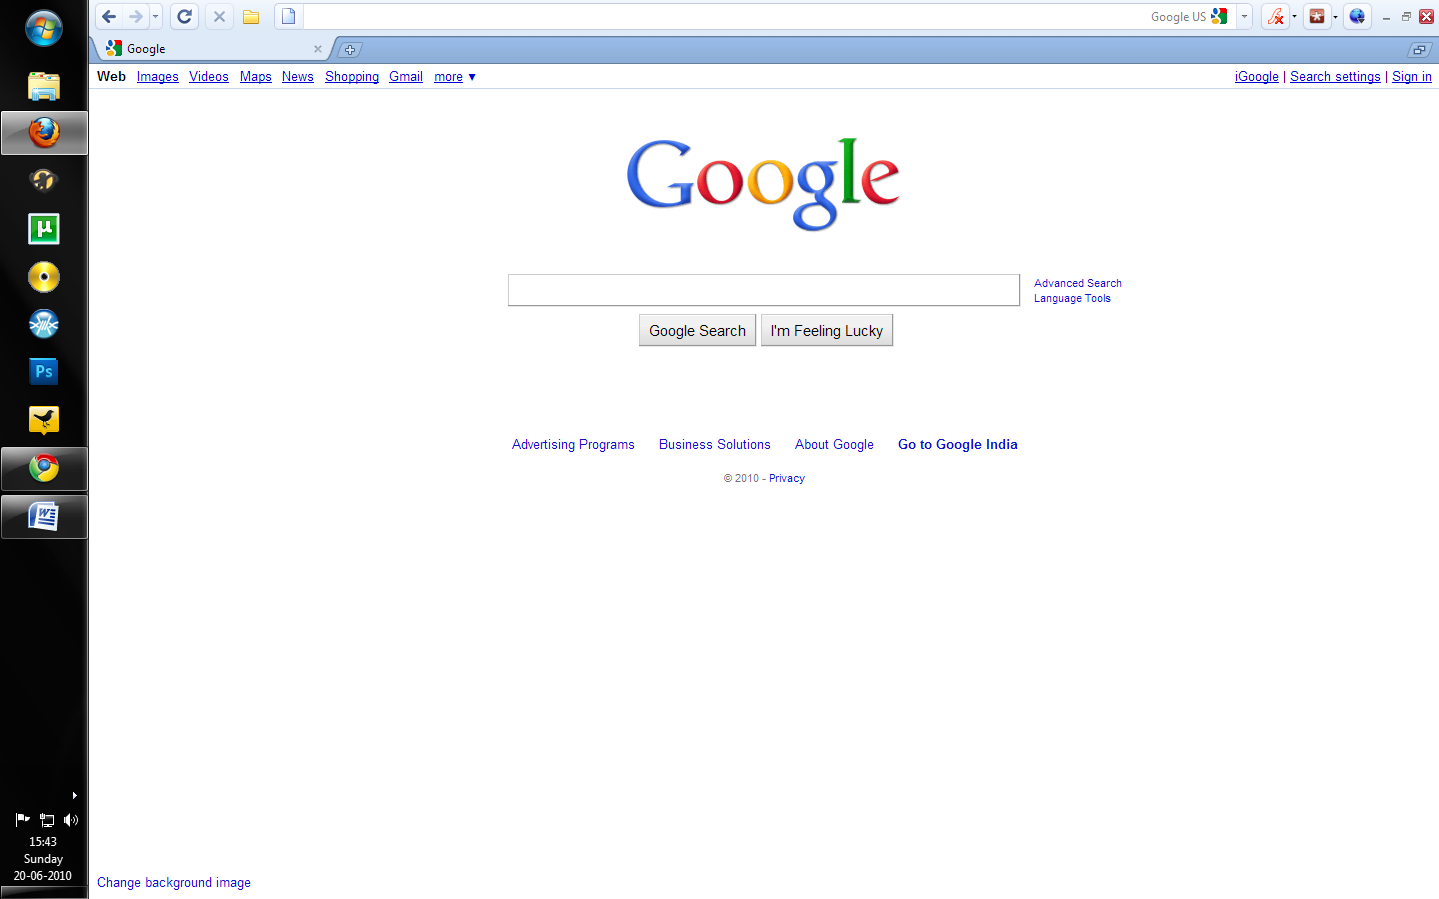
Your browser should now look like Chrome and much roomier.
If you use the bookmark toolbar for quick access to pages, do the following
Open the bookmark organizer by clicking on Compact Menu à Bookmarks à Organize bookmarks.
Create a folder with NO NAME under the Bookmark Toolbar. Drag your favourite bookmarks one at a time into this folder. Now go to view à Toolbars à Customize. Drag the bookmarks folder and place it somewhere next to the address bar. Not go to View à Toolbars à Uncheck ‘Bookmarks Toolbar’.
Below are the before and after screenshots of Firefox.

Step 2: Speeding up your browsing.
In a new tab, type in about:config. Read the warning and accept it.
Rather than me listing out every setting, please follow Abhinav Prakash’s blog and make the changes. http://www.blogsdna.com/6522/how-to-speed-up-your-firefox-browser.htm
DO NOT mess around with any other settings, unless you know what you are doing.
Once this is done install Vacuum Places Improved - https://addons.mozilla.org/en-US/firefox/addon/13878/
This plugin has shown to improve startup and url bar suggestion speeds.
Restart Firefox, navigate to the status bar and right click on the Vacuum icon --> select Vacuum places.sqlite.
You’re done!
Step 3: Testing the two browsers.

Website loading speeds.
I cleared all browser privacy data on both systems, and windows temp files. The time was recorded for all the elements to be loaded. ie: till the status bar went dead

That being proved I decided to give all the web-sites another round of load time testing. (without clearing the history)

Well I have nothing more to say in my article except, try it for yourself.
All over the internet you will find browser tests and results which test the rendering engine, JavaScript etc. The point is, to a regular user none of those matter. What matters is what is visible. As far as browser start-up times and stability are concerned, chrome is excellent. But for everything else, the results speak otherwise.
Update1: Firefox 3.7 will see a host of UI improvements, making browser space utilization even easier. View the official wiki for a quick look.
Update1: Firefox 3.7 will see a host of UI improvements, making browser space utilization even easier. View the official wiki for a quick look.


